Are you looking to take photos that really make your properties stand out? If you’re in need of real estate photography tips to improve your pictures, you’ve come to the right place! Whether you’re a new photographer or a real estate agent wanting to improve your listing photos, this guide is full of helpful advice to make your property shots look amazing.
A good real estate photoshoot is key to selling homes, and with the right tips, you can capture beautiful images that will grab the attention of potential buyers even on social media. Professional photoshooting can also help you create more creative real estate social media posts. We’ve got everything you need to know to take your real estate photos to the next level.
In this guide, we’ll cover simple steps and easy-to-follow tips to help you take great real estate photos. By the end, you’ll know how to capture pictures that stand out on social media, making it easier to sell your properties and get more attention from potential buyers.
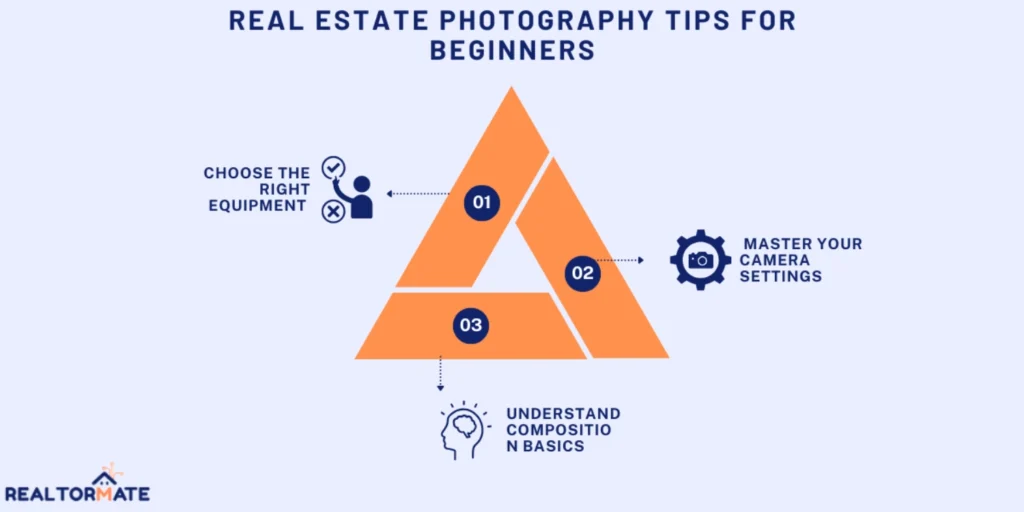
Real Estate Photography Tips for Beginners
If you’re just getting started in estate photography, these real estate photography tips will give you the perfect foundation to create stunning images that make an impact:
1. Choose the Right Equipment
To snap stunning real estate photos that really highlight a property, having the right gear is key. With the right tools, you’ll get sharp, professional images that make the place pop. Here’s an easy list of the gear you’ll need to capture amazing shots, plus some helpful real estate photography tips to guide you along the way:

- DSLR or Mirrorless Camera: At least 20 megapixels for sharp, clear images.
- Wide-Angle Lens (16-35mm or 24-70mm): To capture more of the room in a single shot.
- Sturdy Tripod: Keeps your camera steady for sharp, blur-free photos.
- External Flash Units: Helps brighten dark rooms with a natural feel.
- Remote Shutter Release: Prevents camera shake for crisp photos.
2. Master Your Camera Settings
To take great real estate photos, it’s important to master your camera’s manual mode. This gives you full control over key settings that directly affect the quality of your shots. Here’s how to use your camera’s manual mode for the best results:
- Aperture: Use f/8 to f/11 for sharp focus across the photo.
- Shutter speed: Adjust to match available light—faster in bright light, slower in low light.
- ISO: Keep it low (100-400) to reduce noise.
Mastering these settings is one of the most important steps in learning how to take real estate photos that stand out.
3. Understand Composition Basics
Composition is the art of arranging things in your photo frame in a way that looks balanced and attractive. When it comes to real estate photography, composition is really important in real estate marketing because it helps show off the property in the best light. Here are some simple real estate photography tips to help you get better at composition:
- Leading Lines: Use natural lines, like hallways or stairs, to guide the viewer’s eye through the photo.
- Framing: Use doorways or windows to “frame” key features and focus attention on them.
- Symmetry: Align symmetrical elements in the center for a clean, balanced look.
- Negative Space: Leave empty space around the main feature to highlight it and give the photo room to breathe.
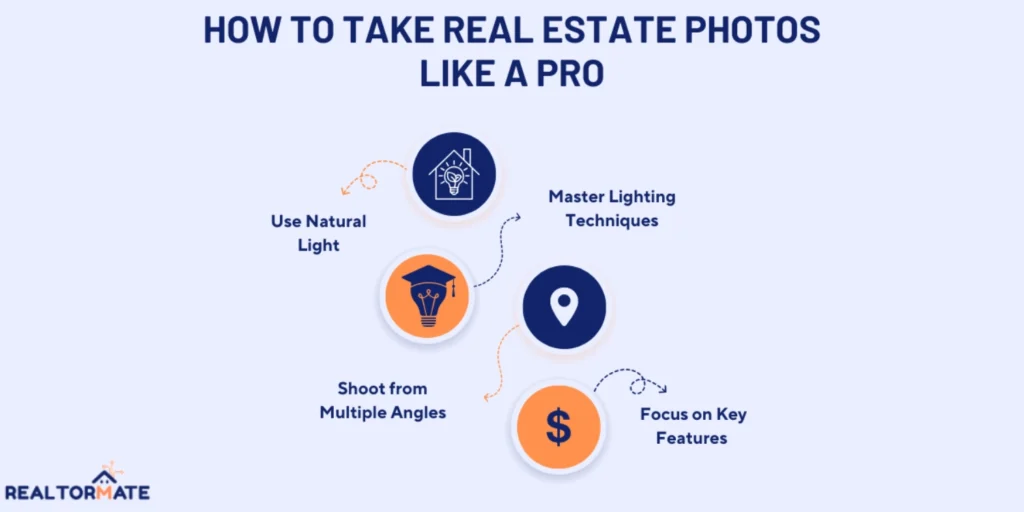
How to Take Real Estate Photos Like a Pro
Here are some simple real estate photography tips to help you take amazing property photos:

1. Use Natural Light
Using natural light is key to capturing bright and inviting real estate photoshoots. Let the light work for you to create photos that feel fresh and welcoming! Here’s how to make the most of it:
- Schedule shoots for late afternoon when light is softer,
- Open curtains and blinds to let in maximum daylight,
- Turn off interior lights to maintain consistent color temperature.
2. Master Lighting Techniques
When natural light isn’t enough for property photography, use flash units to fill dark spots. Bounce the flash off walls or ceilings for softer light. You can also try HDR to balance bright windows and dark interiors. When natural light isn’t enough:
- Use flash units to fill in dark areas,
- Bounce flash off walls or ceilings for softer illumination,
- Experiment with HDR techniques to balance bright windows and darker interiors.
3. Shoot from Multiple Angles
Capture different angles of each room to show its full potential. Take shots from corners, doorways, and focus on unique details like furniture or decor. This gives a better sense of the space and helps viewers imagine living there. To Capture a variety of perspectives to showcase each room,do this:
- Shoot from corners to maximize space,
- Take photos from doorways to create a sense of flow,
- Maintain a consistent height of about 5 feet for a natural look.
4. Focus on Key Features
Highlighting the property’s best features to show off what makes it special. This could include:
- Capture architectural details,
- Showcase unique design elements,
- Include lifestyle shots of outdoor spaces.
How To Prepare A Property For Real Estate Photoshoot
Preparing well is important for taking great real estate photos. It helps show the property at its best and makes sure everything looks good. Proper preparation allows you to highlight the best parts of the property. If you want to succeed in selling luxury homes, it’s a key step in how to become a luxury real estate agent.
Here’s how to prepare a property photoshoots:
- Declutter and Clean: Remove personal belongings, extra furniture, and cleaning surfaces like countertops, windows, and mirrors to make the space look tidy and inviting.
- Stage the Space: This involves arranging furniture to create an open and welcoming flow, adding decorative touches like flowers or fruit bowls, and making sure light fixtures are in working condition to highlight the home’s best features.
- Address Exterior Areas: Focus on the outside by mowing the lawn, trimming hedges, and removing cars from the driveway to enhance curb appeal. Setting up outdoor furniture can also showcase how the outdoor spaces can be used.
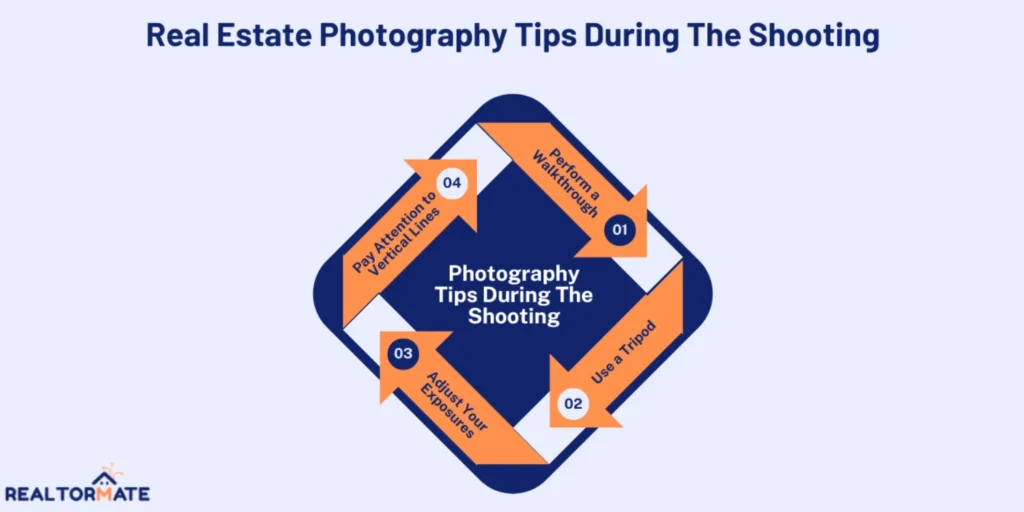
Real Estate Photography Tips During The Shooting
When it’s time to capture the property, keeping a few essential real estate photography tips in mind can make all the difference in showcasing the property’s best features:

- Perform a Walkthrough: Do a complete walkthrough of the property before shooting. Create a short list to ensure you capture all key areas. Identify challenging spaces that may require special attention.
- Use a Tripod: A tripod helps keep your images sharp and steady. Set up your tripod at eye level (about 5 feet high). Use a level to ensure your camera is straight, and a remote shutter release to reduce camera shake.
- Adjust Your Exposures: Take multiple exposures of each composition. Blend exposures in post-processing for a natural HDR effect. Pay extra attention to rooms with bright windows.
- Pay Attention to Vertical Lines: Keeping vertical lines straight is key. Use your camera’s grid overlay to align walls and door frames. Correct any distortion during post-processing for a professional look.
Post-Processing Real Estate Property Photography
After capturing your shots, enhance them using these real estate photography tips to ensure they look professional and appealing for your property:
- Fix Colors and Lighting: Adjust the colors to look natural and balanced. Brighten or darken areas as needed and add contrast to make the photos stand out.
- Remove Clutter: Use editing tools to clean up small flaws like smudges or unwanted items. Cropping can help make the photo look neat and well-framed.
- Keep the Style Consistent: Edit all photos in the same way to create a uniform and realistic look. This makes the property more appealing to buyers.
Conclusion
By following these real estate photography tips, you’ll be well on your way to capturing stunning property images that sell. Remember, practice makes perfect, so don’t be afraid to experiment and develop your unique style. With dedication and attention to detail, you’ll soon be creating real estate photos that make properties stand out in a competitive market.
FAQs
1. What Is the Best Angle for Real Estate Photography?
For real estate photography, a wide-angle lens with a focal length of 14mm to 35mm is ideal. It helps capture entire rooms or spaces clearly, maintaining depth and minimizing distortion.
2. Do Real Estate Photographers Edit Photos?
Photo editing plays a crucial role in the success of real estate photography and sales. While Adobe Lightroom and Photoshop are popular choices among professionals, there are also other effective editing tools available.
3. Do Estate Agents Use Photographers?
Many estate agents use this method to save money, but iPhone cameras aren’t the best for property photos. While they’re great for everyday pictures, they don’t provide the quality needed for sales listings. That’s why we usually hire professional photographers to get the best results.
